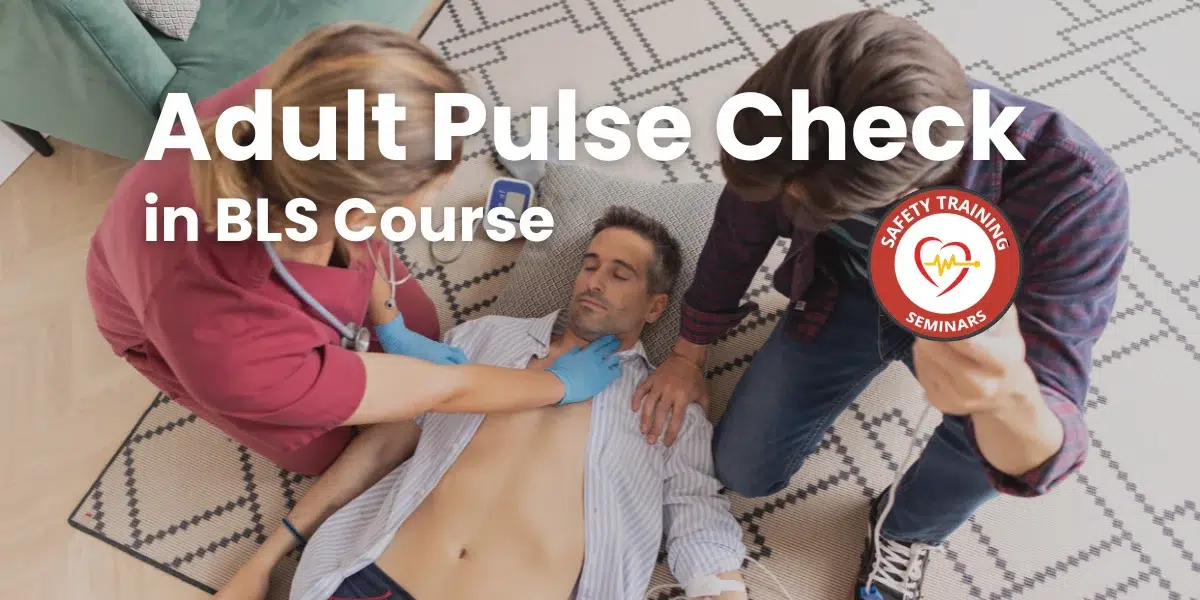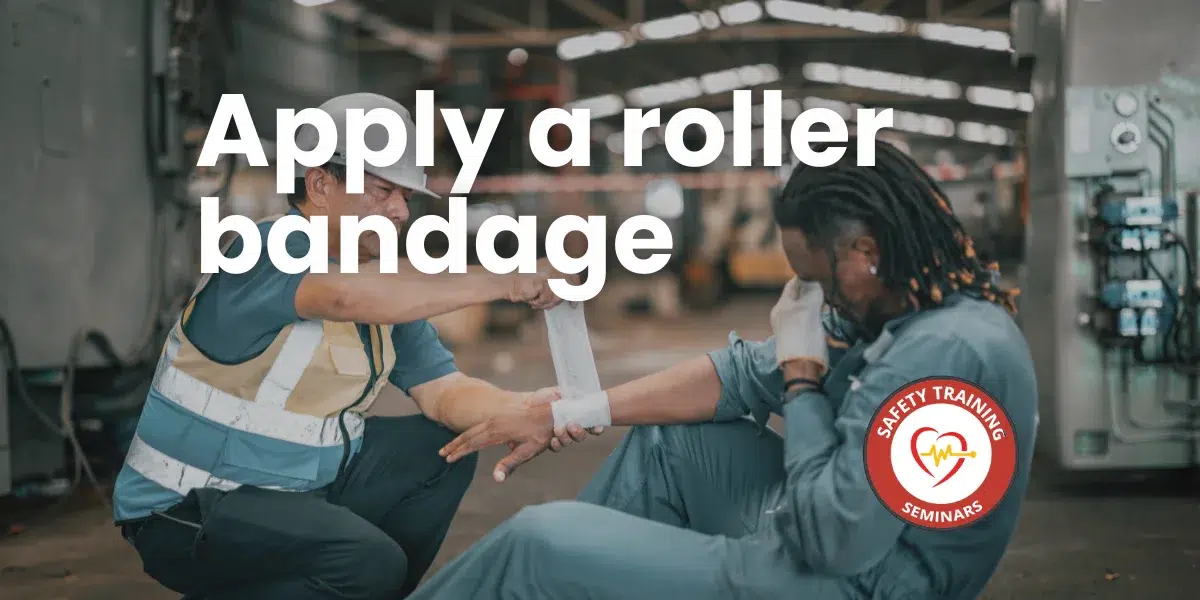
Injuries can happen anywhere, from a scraped knee on the playground to a sprained ankle on a hiking trail. In these moments, your ability to respond effectively depends heavily on the tools in your kit and your knowledge of how to use them. One of the most versatile and essential tools in first aid is the roller bandage. It looks simple—a rolled-up strip of fabric—but when used correctly, it can stop bleeding, immobilize a joint, or keep a wound clean. Learning how to apply a roller bandage properly ensures you know exactly how to help when an emergency arises.
Understanding the Roller Bandage: Purpose and Benefits
Before you begin wrapping, it is crucial to understand what a roller bandage actually does. Unlike a simple adhesive strip used for minor cuts, a roller bandage is a long strip of material, usually gauze, cotton, or elastic, rolled into a tight cylinder. Its primary functions are versatile, making it a must-have for any medical kit.
Ideally, you use a roller bandage for three main reasons:
- Securing Dressings: It holds sterile pads or gauze firmly in place over a wound, preventing dirt and bacteria from causing infection.
- Applying Pressure: By wrapping with tension, you can control bleeding (hemostasis) or reduce swelling in the case of strains and sprains.
- Providing Support: It limits movement in injured limbs or joints, which prevents further injury and reduces pain.
Furthermore, roller bandages are breathable, allowing air to circulate around the injury, which is a vital component of proper wound care. Understanding these benefits helps you decide when a roller bandage is the right tool for the job.
Preparation: The Critical First Steps
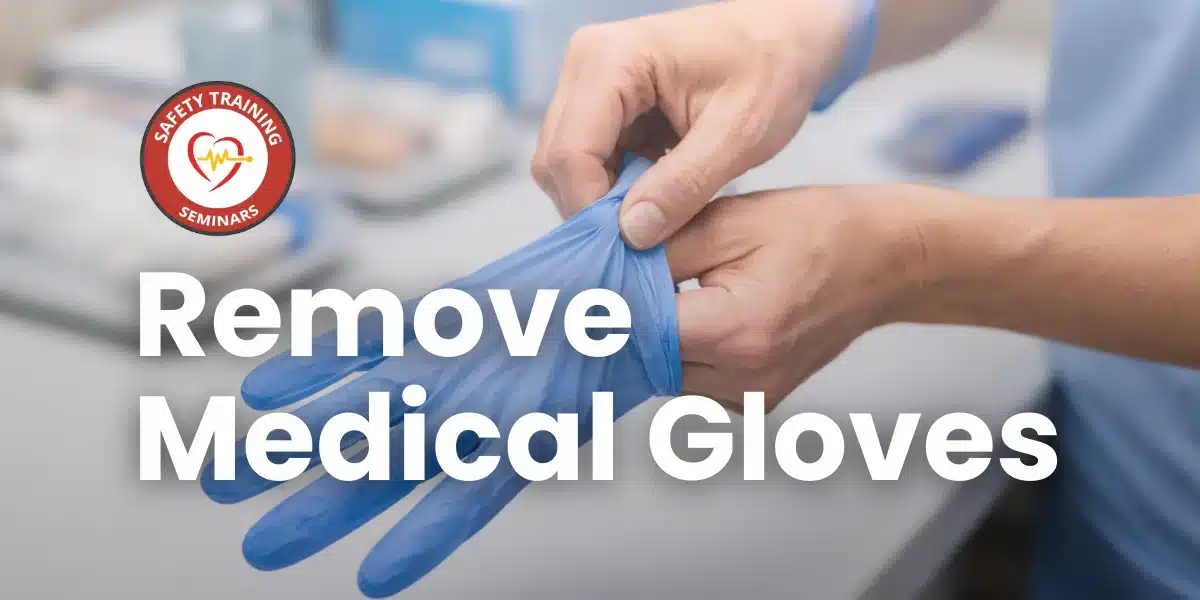
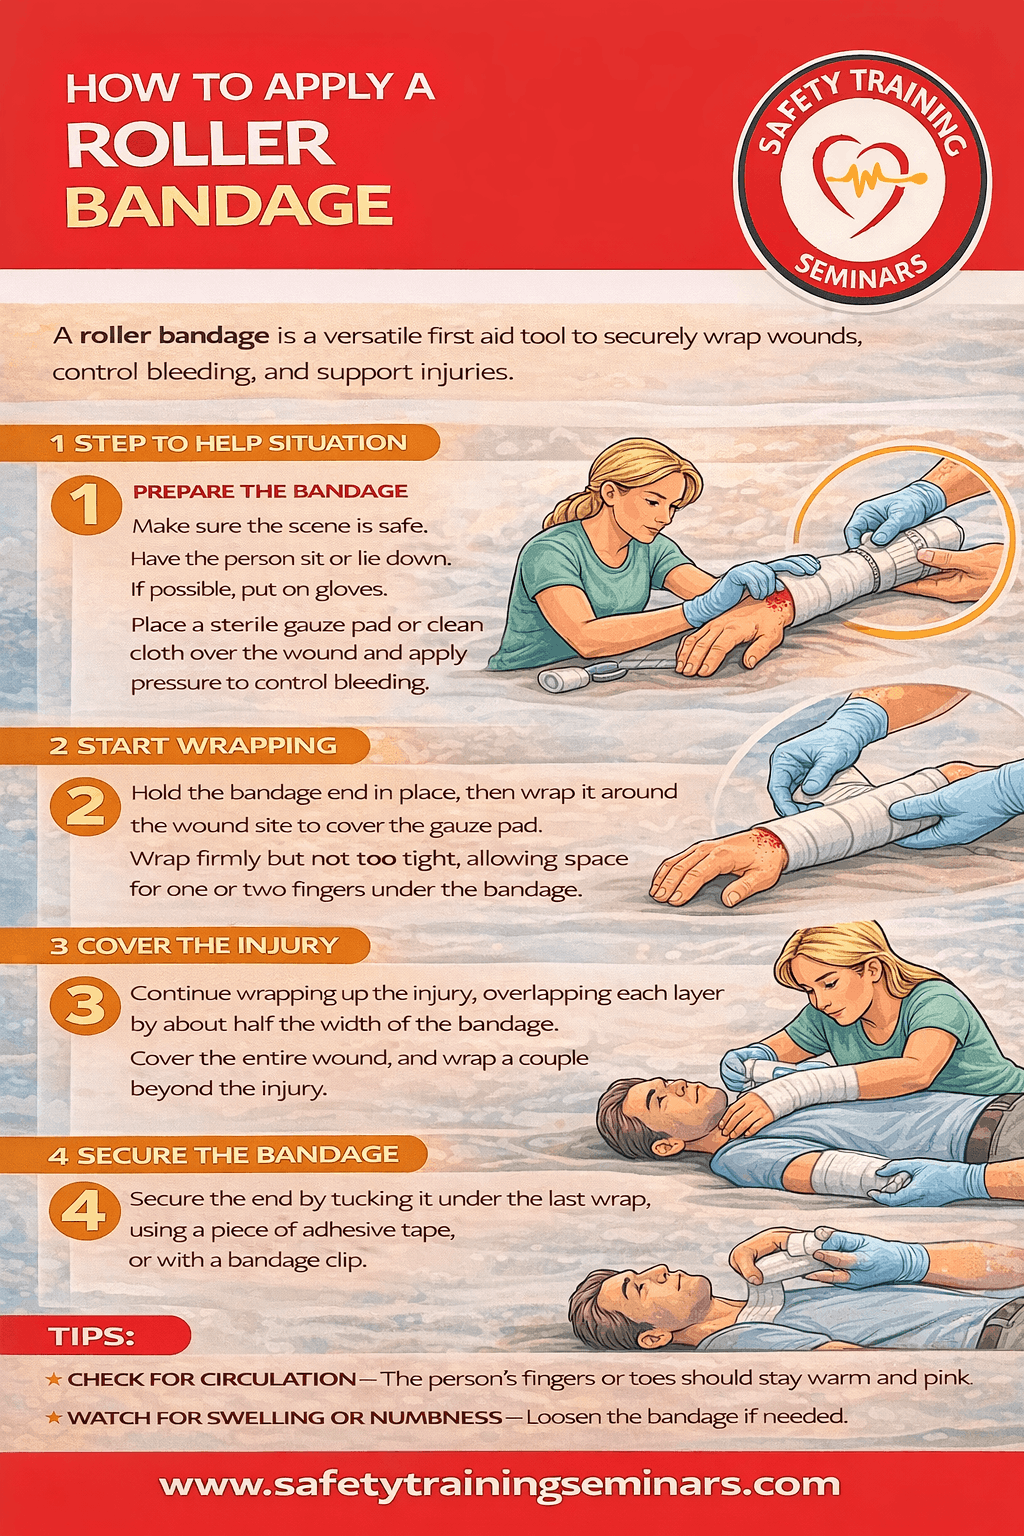
You should never rush directly into bandaging without proper preparation. Rushing can lead to infection or poor application. First, ensure safety for both yourself and the injured person. Wash your hands thoroughly and put on disposable gloves if they are available. This barrier protects you from bodily fluids and protects the patient from germs on your hands.
Next, focus on the injury itself. If there is an open wound, you must perform basic wound care before applying the bandage.
- Control any severe bleeding by applying direct pressure with a sterile pad.
- Clean the wound with saline or clean water to remove debris.
- Dry the surrounding skin gently but thoroughly. Bandages slip on wet skin.
- Place a sterile dressing directly over the wound. The roller bandage will go over this dressing, not directly on the wound itself.
Finally, help the person into a comfortable position. Support the injured limb so you can access it easily. If you are bandaging an arm, have them hold it across their chest. If it is a leg, have them lie down or sit with the leg elevated. Proper positioning makes the application process much smoother.
The Golden Rules of Bandaging
Applying a bandage is a skill that follows specific principles. Adhering to these “golden rules” ensures the bandage stays in place and does its job without causing harm.
- Roll “Head Up”: Hold the bandage so the rolled part (the “head”) is on top and the unrolled tail hangs down. This position allows you to unroll the bandage easily directly onto the limb without dropping it.
- Work Distal to Proximal: Always start bandaging from the part of the limb furthest from the heart (distal) and work toward the heart (proximal). For example, if bandaging a forearm, start at the wrist and move up toward the elbow. This technique helps push blood back toward the heart and prevents blood from pooling in the veins.
- Maintain Even Tension: Apply firm, consistent pressure. It needs to be tight enough to support the area or hold a dressing, but not so tight that it cuts off circulation.
- Overlap Correctly: Each new turn of the bandage should cover about two-thirds of the previous turn. This layering locks the bandage in place.
Technique 1: The Spiral Wrap for Limbs
The spiral wrap is the most common of the bandaging techniques. It is ideal for parts of the body that are uniform in thickness, such as the upper arm, the forearm, or the lower leg.
- Anchor the Bandage: Start by placing the tail of the bandage on the limb below the injury. Make two straight turns around the limb to lock the end in place.
- Begin the Spiral: spiral up the limb, moving slowly upwards. Remember to overlap the previous layer by about two-thirds.
- Keep it Smooth: Ensure there are no wrinkles or gaps. Wrinkles can dig into the skin and cause discomfort or pressure sores.
- Finish the Wrap: Continue until the dressing is covered or the support area is wrapped. Finish with one or two straight turns, just like you started.
- Secure the End: Fasten the end of the bandage with tape, a safety pin, or by using the clips often provided with elastic bandages. Avoid tying a knot over the wound site itself, as this can apply painful pressure.
Technique 2: The Figure-of-Eight for Joints
Joints like knees, elbows, and ankles move, which makes a simple spiral wrap ineffective—it will likely bunch up or slip off. Instead, use the figure-of-eight technique. This method allows for some flexibility while maintaining high stability.
- Anchor: Start with two straight turns around the limb, just below the joint.
- Cross Over: Carry the bandage diagonally across the front of the joint to the area above it.
- Loop Around: Go around the back of the limb above the joint, then bring the bandage diagonally down across the front of the joint again, creating an “X” pattern.
- Repeat: Continue this crisscross pattern. Each new figure-of-eight should slightly overlap the previous one.
- Secure: Finish with two straight turns above the joint and secure the bandage.
This technique is excellent for supporting sprains and provides good compression without completely immobilizing the joint, unless that is the specific goal.
Aftercare: Monitoring Circulation
Your job isn’t finished once the bandage is secured. A bandage that is too tight acts like a tourniquet and can cause serious tissue damage. You must check the circulation in the limb immediately after finishing and every 10 minutes thereafter.
Check for the following signs of impaired circulation:
- Pale or Blue Skin: Look at the fingers or toes extending beyond the bandage.
- Cold Extremities: The skin should feel warm to the touch.
- Numbness or Tingling: Ask the person if they feel “pins and needles.”
- Slow Capillary Refill: Squeeze a fingernail or toenail until it turns white, then release. The pink color should return within two seconds. If it takes longer, the bandage is too tight.
If you spot any of these signs, unwrap the bandage immediately and reapply it with less tension. Being vigilant about these checks is a hallmark of good first aid. Ultimately, mastering roller bandage application empowers you to stabilize injuries confidently until professional medical help arrives.