When you enroll in a Basic Life Support (BLS) course, you learn the fundamental skills needed to respond during a cardiac arrest emergency. One of the most important tools you will encounter is the pocket mask. This small, portable device is a cornerstone of safe and effective CPR, allowing you tox deliver life-saving rescue breaths while protecting both yourself and the victim. Understanding how to use it correctly is not just a required skill for certification; it’s a critical component of knowing how to help someone with confidence and competence. This guide will walk you through everything you need to know about using a pocket mask.
What is a Pocket Mask and Why is it Important?
A pocket mask is a barrier device used to safely deliver rescue breaths during CPR. It consists of a soft, pliable mask that creates a seal over the victim’s nose and mouth, and a one-way valve that allows your breath to enter the victim’s lungs but prevents their exhaled air, fluids, or potential pathogens from reaching you. This barrier is crucial for infection control, reducing rescuer hesitation and ensuring that ventilations are provided when needed. In any BLS course, instructors emphasize the pocket mask as a standard piece of personal protective equipment (PPE) for anyone performing CPR.
The Key Benefits of Using a Pocket Mask
Using a pocket mask offers significant advantages over direct mouth-to-mouth resuscitation. It is an indispensable tool that enhances both the safety and effectiveness of the care you provide.
- Superior Safety: The one-way valve and filter system provide a reliable barrier, significantly lowering the risk of transmitting infectious diseases between the rescuer and the victim.
- Effective Seal: The design of the mask helps create a tight seal over the nose and mouth, which is often difficult to achieve with mouth-to-mouth. This ensures that the air you blow goes into the lungs and doesn’t leak out.
- Improved Ventilation: Because you can use both hands to maintain an open airway and secure the mask, you can deliver more consistent and effective rescue breaths, leading to better oxygenation for the victim.
- Oxygen Compatibility: Many pocket masks come with an oxygen inlet port. This allows you to connect supplemental oxygen, which can deliver a higher concentration of oxygen to the victim, further increasing their chances of a positive outcome.
Step-by-Step Guide: Positioning the Pocket Mask
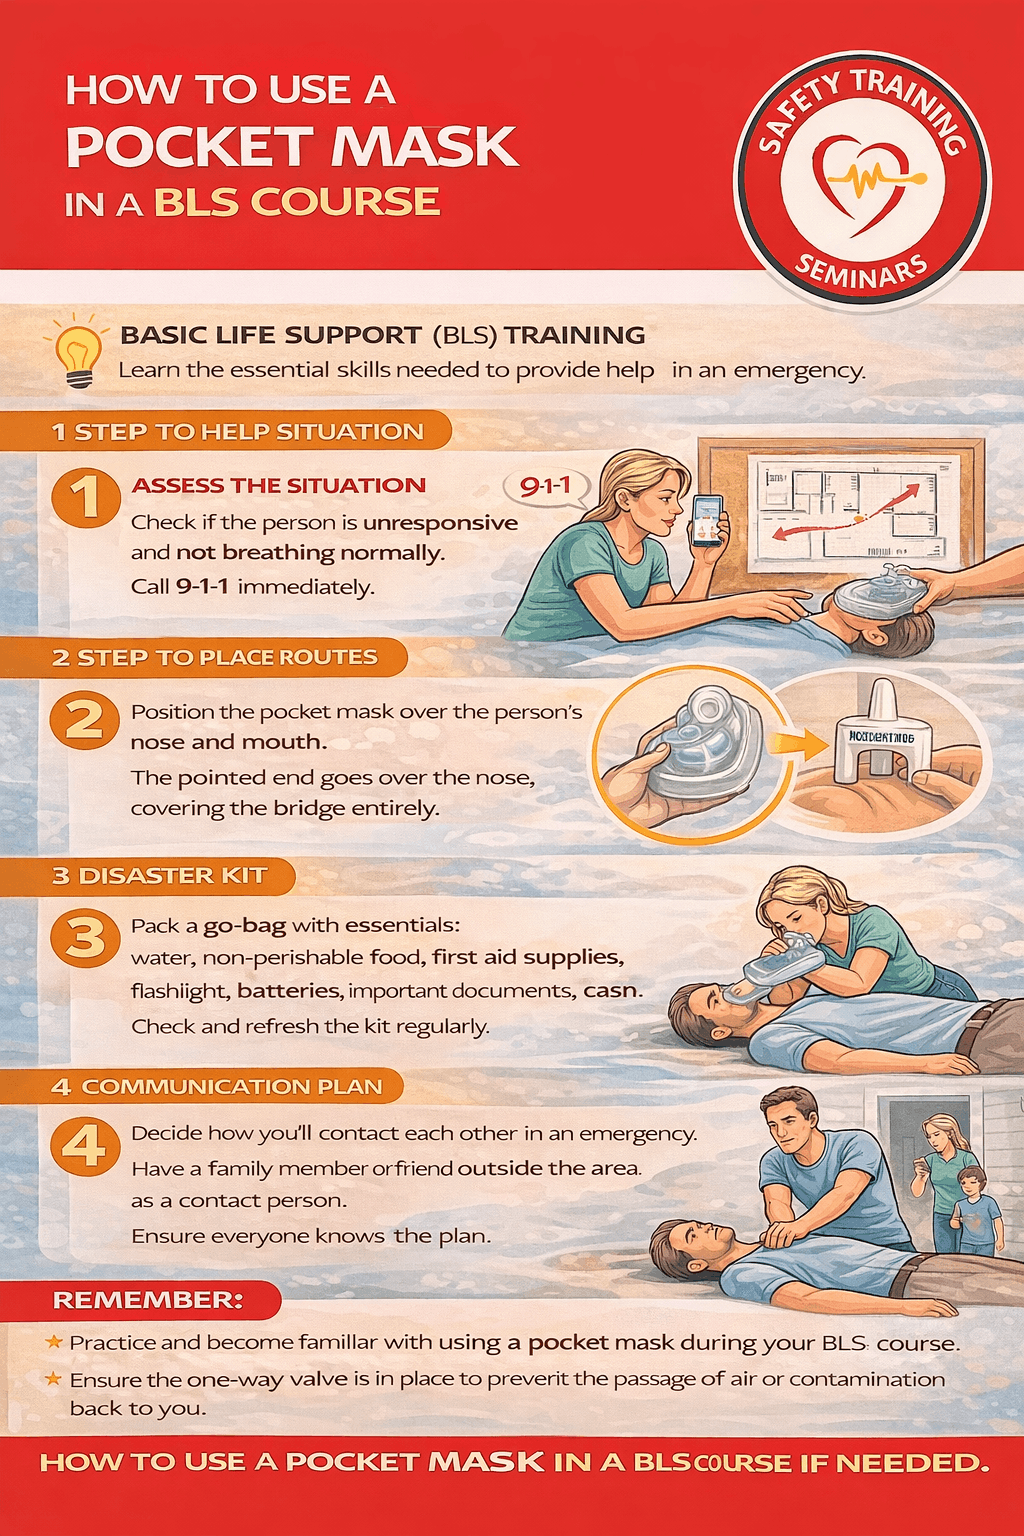
Proper positioning is the first step to delivering effective rescue breaths. Before you begin, ensure the scene is safe and you have correctly assessed the victim. If they are unresponsive and not breathing normally, have someone call for emergency services and get an AED while you start CPR.
When it’s time for breaths, position yourself at the side of the victim’s head.
- Open the pocket mask and attach the one-way valve.
- Place the mask on the victim’s face, using the pointed end to cover the bridge of their nose.
- Ensure the wider, rounded end of the mask covers their mouth and rests on their chin. The mask should create a complete seal around both the nose and mouth.
The “C-E” Technique for a Perfect Seal
The “C-E” hand-positioning technique is the standard method taught in a BLS course for holding the pocket mask firmly in place and maintaining an open airway. It ensures that your rescue breaths are effective.
- Form the “C”: Place the thumb and index finger of the hand closer to the top of the victim’s head into a “C” shape. Press down firmly on the top and side of the mask to create a tight seal.
- Form the “E”: Place the thumb of your other hand on the bottom edge of the mask. Use your remaining fingers to grasp the victim’s jawbone, forming an “E” shape.
- Open the Airway: Gently pull the jaw upwards with your “E” hand. This action lifts the tongue away from the back of the throat, opening the airway. This is a critical part of the head-tilt, chin-lift maneuver when using a mask.
Delivering Effective Rescue Breaths
Once the mask is sealed and the airway is open, you are ready to deliver rescue breaths as part of the CPR cycle. The quality of these breaths is just as important as the quality of chest compressions.
- Take a Normal Breath: Take a normal, not deep, breath.
- Blow Steadily: Blow steadily into the one-way valve for about one second. As you do, watch for the victim’s chest to begin to rise. A visible chest rise is the confirmation that your breath has successfully entered the lungs.
- Allow for Exhalation: Remove your mouth from the valve and allow the victim’s chest to fall completely. This allows the air to passively exit the lungs.
- Repeat: Deliver a second rescue breath, again watching for chest rise.
- Resume Compressions: Immediately return to performing high-quality chest compressions. The goal is to minimize any interruption to compressions. Always follow the 30:2 compression-to-breath ratio taught in your BLS course.
If the chest does not rise on your first attempt, reposition the head and mask to ensure a better seal and an open airway, then try again. Do not delay chest compressions for more than 10 seconds. The ability to deliver effective rescue breaths with a pocket mask is a skill that demonstrates your readiness to provide high-quality CPR and truly know how to help in a crisis.